
Sealing a butcher block countertop is essential for protecting the wood from moisture, stains, bacteria, and daily wear. A proper seal keeps the surface food-safe, prevents swelling, and maintains the natural warmth of wood.
After sealing hundreds of butcher block tops over the years, I’ve learned one truth: the finish you choose defines the durability and appearance of the entire countertop.
Polyurethane offers a waterproof, long-lasting barrier, while food-safe oils penetrate the wood for a natural matte finish. Both methods work well when applied with patience and proper prep.
Perfect Butcher Block Countertop Sealing Made Easy- The Short Answer:
To seal a butcher block countertop, sand the surface, clean it thoroughly, and apply either oil-based polyurethane for a durable waterproof film or food-safe oils for a natural matte finish. Allow proper drying and build multiple coats for long-lasting protection.
Butcher Block Countertop Sealing
What You’ll Need to Seal a Butcher Block Countertop
Option 1: Sealing With Polyurethane (Best for Long-Term Durability)
When I use polyurethane to seal my butcher countertops, I make sure to have every essential item ready. This method gives a durable, water-resistant, and long-lasting finish, ideal for countertops that need heavy-duty protection.
Tools:
-
- Electric oscillating sander
-
- Sander discs (120-grit, 220-grit, 300-grit, 400-grit)
-
- Sandpaper sheets (assorted grits pack)
-
- Foam sanding block
-
- Synthetic bristle paintbrush
-
- Clean microfiber cloths
-
- Tack cloth
-
- Breathing protection
-
- Eye protection
Materials:
-
- Oil-based coating (polyurethane)
-
- Paint thinner or mineral spirits
-
- High-grade resin blend (Sealer/Finish)
When applied, this Sealer/Finish may alter coloration, giving an amber color that can darken slightly over the years, yet it maintains a perfect, non-toxic, and ultra-safe surface that resists crack, peel, and chip damage.
Option 2: Sealing With Oil (Best for Food Prep + Natural Look)
For a natural wood appearance, I prefer food-safe Mineral Oil or Tung oil. These oils seal, protect, and highlight the complementary beauty of butcher block countertops. This approach is simpler, requires routine oiling and conditioning, but offers a warm, long-lasting finish that stays effective for years.
Tools:
-
- Clean microfiber cloths
-
- Foam sanding block or Sandpaper sheets
-
- Tack cloth
-
- Breathing protection (optional)
Materials:
-
- Mineral Oil, Tung oil, or Penetrating Oil
-
- Topical or Epoxy sealant (optional for added durability)
To apply, simply rub the Oil evenly across the surface, leave it to soak, and then wipe off any excess. This keeps the countertop heat-resistant, non-toxic, and ultra-safe for cutting, cooking, baking, and serving — just refrain from using knives directly on surfaces. With proper maintenance, this method helps protect, seal, and maintain the beauty and longevity of your countertops.
How to Prepare a Butcher Block for Sealing
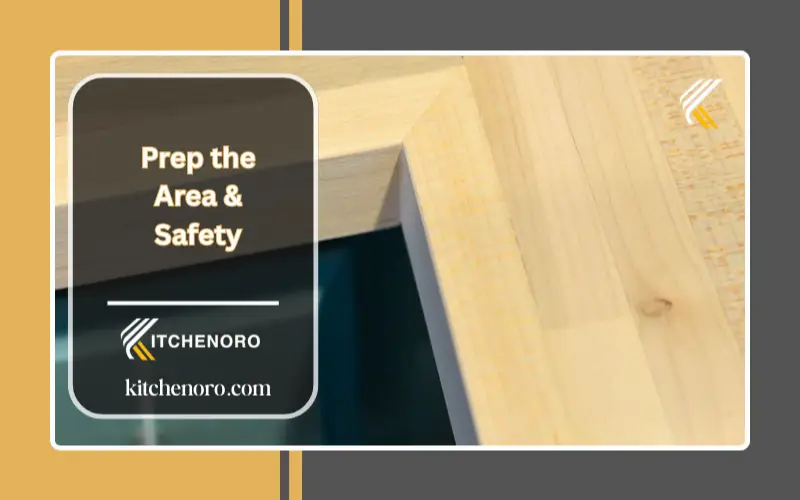
Step 1: Prep the Area & Safety
-
- Clear the countertop and nearby surfaces; cover appliances/floors.
-
- Put on breathing protection, waterproof gloves, and eye protection.
-
- Unplug nearby devices; ensure good ventilation.
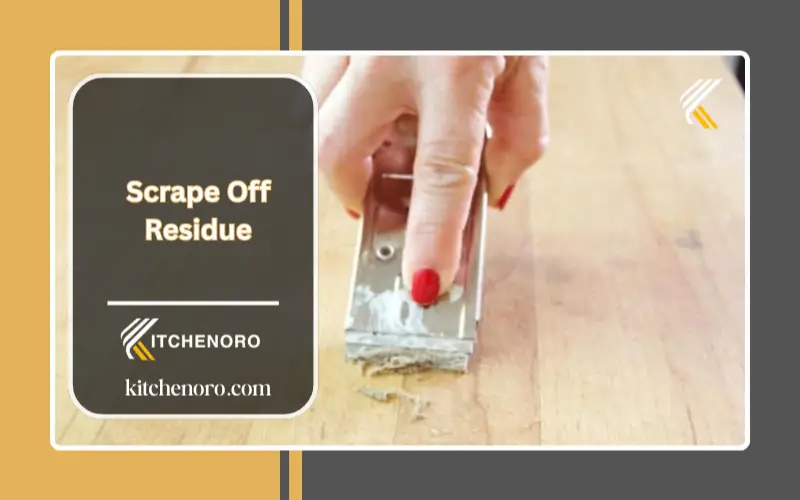
Step 2: Scrape Off Residue
-
- Use a plastic or metal scraper to gently scrape large food deposits.
-
- Keep the scraper flat to avoid gouging the surface.
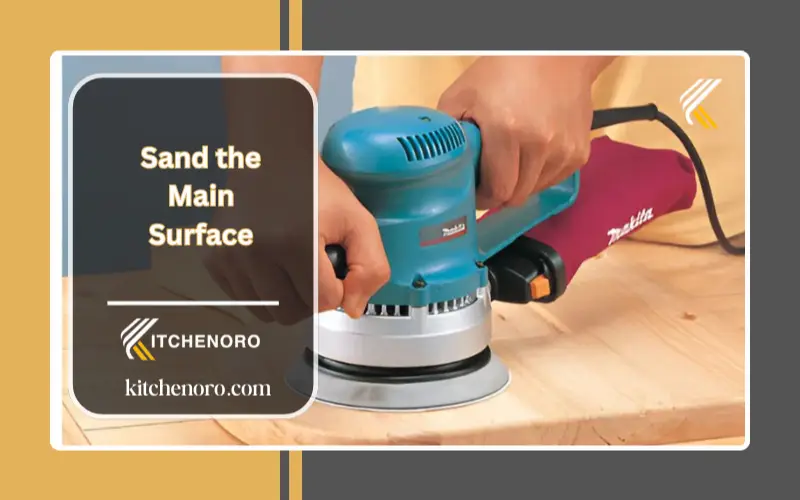
Step 3: Sand the Main Surface
-
- Move in the direction of the grain with an electric oscillating sander.
-
- Start coarse (120-grit), then progress to 220-grit and 300-grit for a smooth finish.
-
- Swap sanding discs before they clog to maintain even removal.
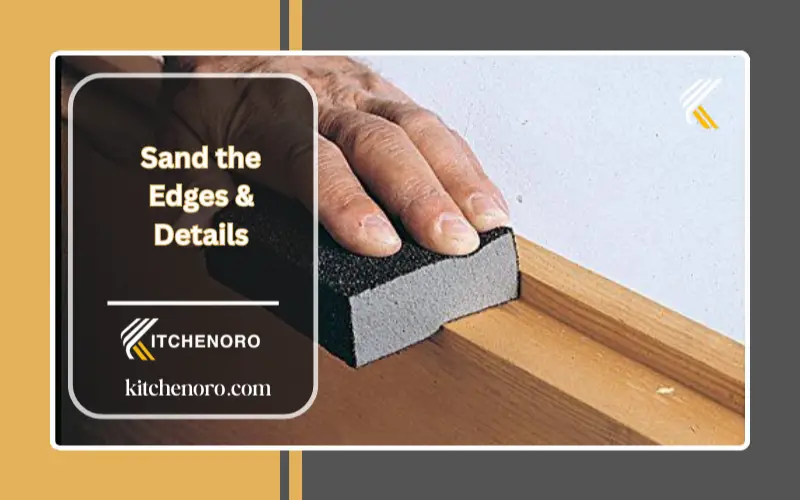
Step 4: Sand the Edges & Details
-
- Switch to hand sanding for edges and tight spots.
-
- Use a foam sanding block and loose papers; avoid rounding corners or creating divots between pieces.
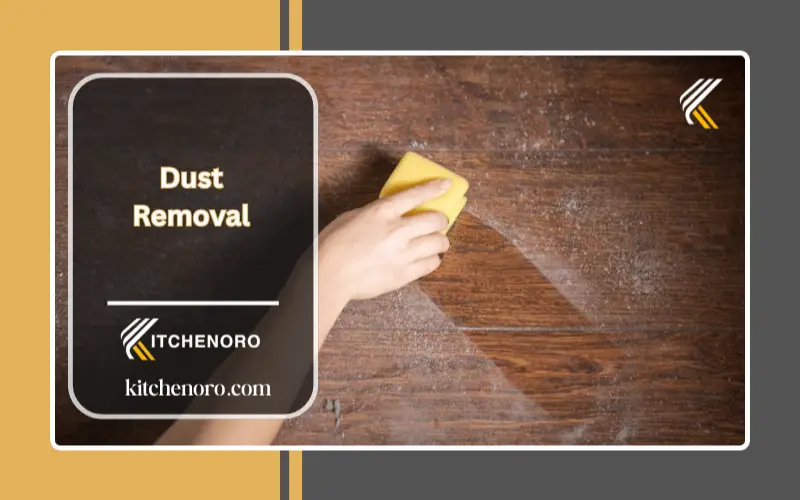
Step 5: Dust Removal
-
- Vacuum or brush off loose dust from the top and sides.
-
- Wipe thoroughly with a tack cloth to remove fine particles.
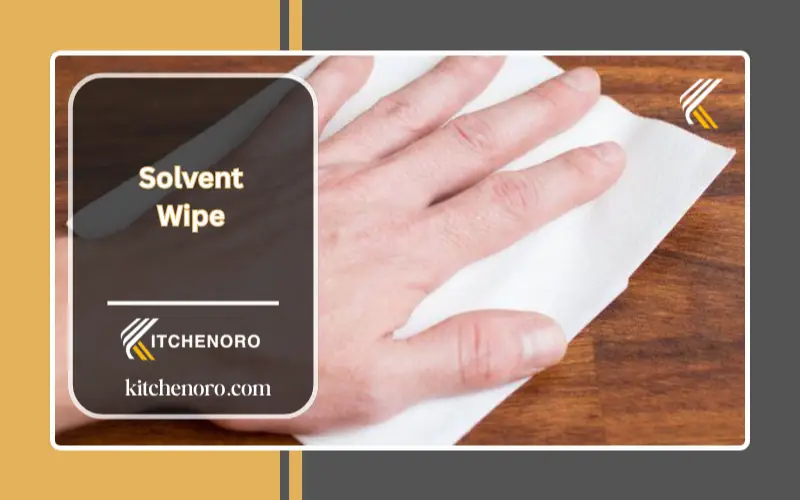
Step 6: Solvent Wipe
-
- Dampen a microfiber towel with denatured alcohol or paint thinner.
-
- Wipe the entire surface evenly to remove remaining dirt, debris, and old finishes.
-
- Let the wood dry completely.
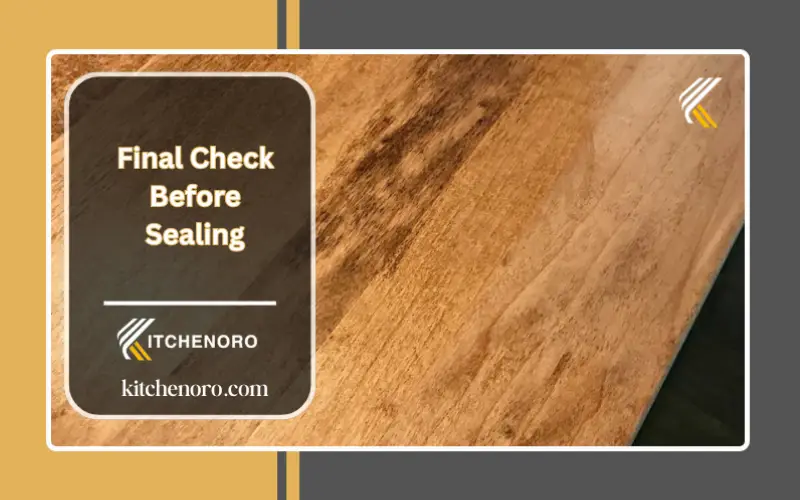
Step 7: Final Check Before Sealing
-
- Inspect for scratches, swirl marks, and uneven spots; re-sand as needed.
-
- Ensure the surface feels smooth and clean, with no obstructions that could block sealant absorption.
How to Seal a Butcher Block Countertop With Polyurethane
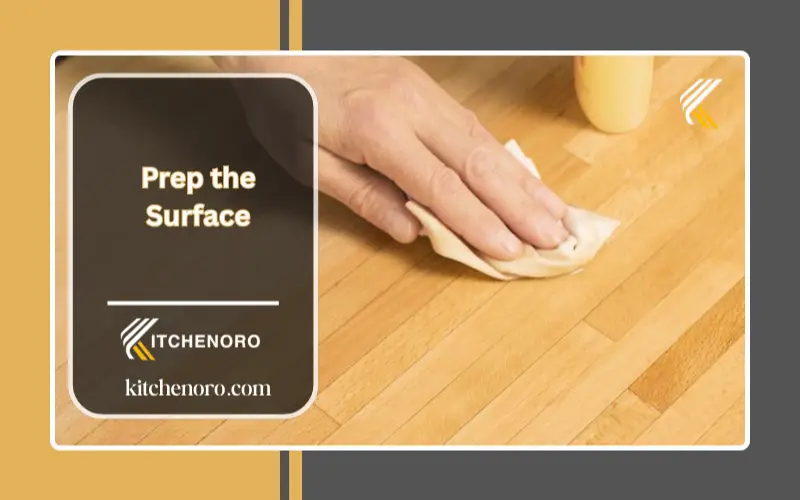
Step 1: Prep the Surface
-
- Gather tools and choose an oil-based polyurethane sealer for a water-resistant, long-lasting finish.
-
- Clean the surface of the butcher block countertop; spot any stain that might be difficult to blend later.
-
- Clean dust, then set a China bristle brush and a solvent (mineral spirits) within reach for tack and cleanup.
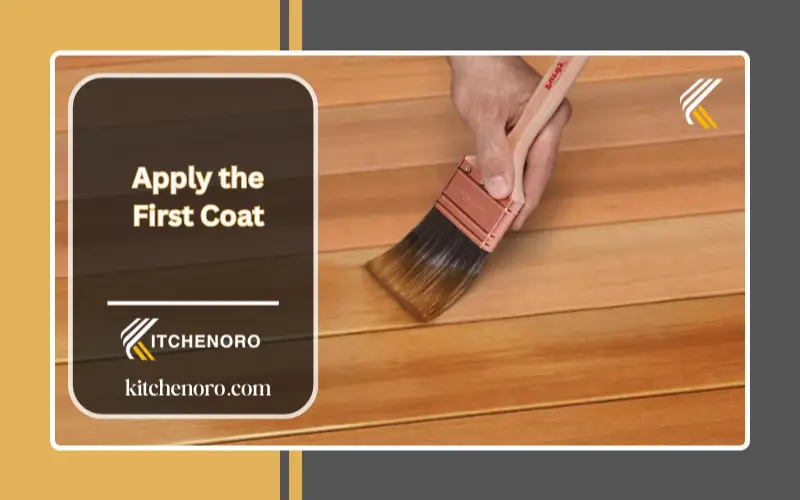
Step 2: Apply the First Coat
-
- Start sealing the butcher block countertop with a first coat applied generously; be careful not to over-apply.
-
- Watch the edges for drips; keep Brushing rapidly, evenly, aiming for a shell-like coating.
-
- Wait four to six hours for it to dry completely.
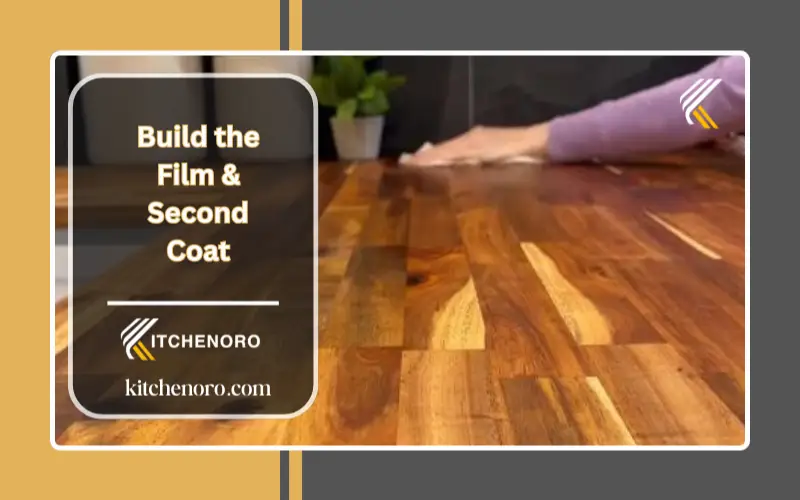
Step 3: Build the Film & Second Coat
-
- Add a second coat; this layer should soak less yet remain durable and form a stronger seal.
-
- For food preparation use, keep passes steady to improve film build and water protection.
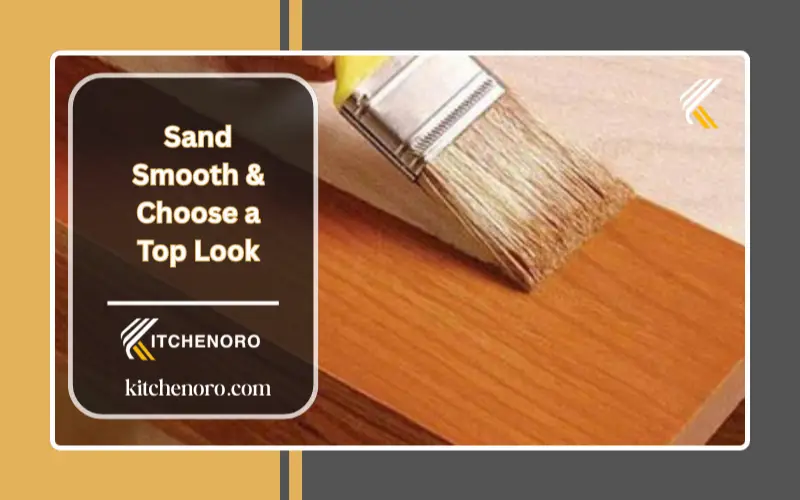
Step 4: Sand Smooth & Choose a Top Look
-
- Once Sealer/Finish has hardened, lightly sand with 320-grit (or steel wool 3/0 or 4/0) and remove dust with mineral spirits; a quick tack helps it feel smooth.
-
- Pick a topcoat sheen: Satin or High Gloss. Test a mix (1 to 4) to see how dark or light wood appears.
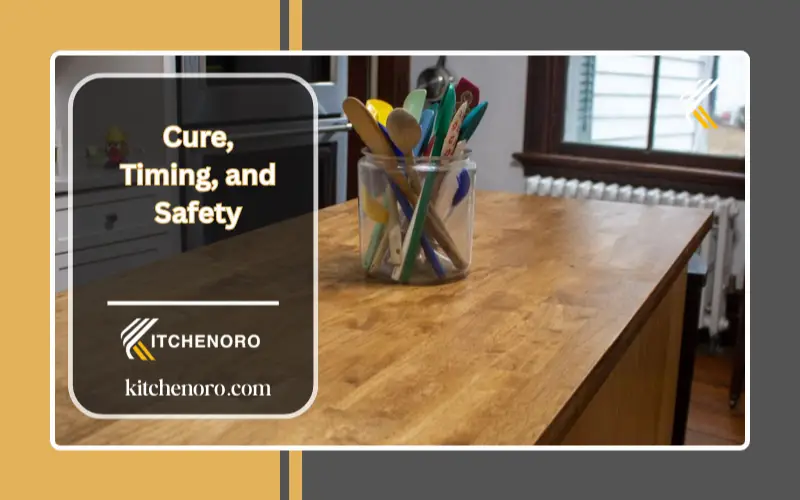
Step 5: Cure, Timing, and Safety
-
- Let the coats cure properly for 72 to 96 hours before heavy use; this protects the wood.
-
- If using tung oil, epoxy, or mineral oil as options, ensure they’re food-safe.
-
- Do not wipe on/wipe off between coats; it reduces film build and weakens water protection.
-
- Handle before drying cleanup with mineral spirits and keep the workflow careful and consistent.
Sealing a Butcher Block Countertop with Oil
Step 1: Prep for a matte finish
-
- Check the butcher block countertops for dust; wipe the surface and edges with a microfiber cloth to clean.
-
- Aim for a soft, velvety feel on the block before oiling.
Step 2: Choose and warm the oil
-
- Pick mineral or tung oil (either works to maintain water-resistant resistance).
-
- Lightly warm the oil bottle in your hands so it spreads evenly.
Step 3: Apply and rub the first coat
-
- Pour a small puddle of oil on the surface and rub it in with the cloth, covering edges thoroughly.
-
- Wipe excess with a towel; let it dry six hours.
Step 4: Scuff and smooth
-
- Lightly scuff with 400 grit sandpaper to keep the surface even and help the next layer bond.
Step 5: Add the second and building coats
-
- Apply a second coat of oil, then repeat reapplications as needed: two to four coats total for a durable finish.
-
- If buildup starts to cake, wipe it while still tacky.
Step 6: Final clean and protect
-
- Spot-clean any cake or streaks with spirits, then allow the countertops to fully dry.
-
- Resume light reapplications over time to maintain that soft, velvety, matte finish and water-resistant resistance.
Regular Cleaning Steps (for butcher block countertops)
-
- cleaning after use: Wipe surface with mild dish soap and warm water to prevent staining, damage, and warping of the wood; rinse, then maintain a dry finish to keep it protected and beautiful.
-
- Debris removal: Use a nylon scraper or scrubbing sponge (never a metal tool) to avoid cosmetic marks on cutting boards as they age.
-
- Safe sanitize: For routine sanitize, apply white vinegar; avoid bleach and harsh chemicals to stay sanitary and protect plastic items nearby.
-
- Science-backed care: Remember, studies note hard woods contain antimicrobial substances, supporting a clean, food-safe routine.
-
- Conditioning pass: Work a high-quality blend of bee’s wax and oil across top, sides, and bottom to seal fibers, reduce drying and cracking, and improve day-to-day results for residential and commercial kitchens—treat it like an investment.
Protection & Resealing Routine (to keep a waterproof base)
-
- Initial sealing plan: Apply sealant and keep it reapplied at regular intervals—every month during the first year—to build a durable waterproof base.
-
- Ongoing cadence: reseal every 6 months thereafter; adjust frequency if your kitchen is very busy.
-
- Long-wear finishes: If using polyurethane or epoxy, many setups last 1 to 2 years (always follow the manufacturer’s directions).
-
- Final pass: After each process, wipe clean and let cure fully before heavy use; for deeper tips, see the article linked for maximizing protection and extending years of service.
FAQs
1) Should butcher block countertops be sealed?
My butcher block countertop looked great until moisture and bacteria began to damage the wood. Without a proper seal or sealant, the surface gets scratched, stained, and turns unhygienic. Regular sealing gives vital protection, stopping pathogens from growing or breeding in the pores of the block. Once I treated it, cleaning was easier and hygiene stayed consistent.
2) What’s the best sealant for butcher block countertops?
A butcher block countertop made from natural wood adds warmth and beauty, but proper sealing is key to protect it. I’ve found that using a permanent sealer like Waterlox gives a lasting finish and cuts down on maintenance. This makes the routine work of having to seal the surface much easier, keeping the wood smooth and glowing for years.
3) Do you need to seal both sides of a butcher block?
For a butcher block countertop, proper sealing of all surfaces—top, bottom, and sides—is essential. If it’s unfinished or made from a wide plank, use a commercial grade polyurethane or Waterlox finish. Always follow the manufacturer instructions for finishing, applying three or four coats to get a durable, smooth finish that protects the wood completely.
4) How to permanently finish butcher block countertops?
To seal butcher block countertops properly, I always start by sanding the surface of the wood smooth. Then I pour a small amount of pure tung oil, a popular, food-safe finishing choice, onto a lint-free rag and apply it in circular motions. This helps the oil soak in evenly and protects the block. I make sure to cover the entire countertop for a lasting, natural glow.
Conclusion
A properly sealed butcher block countertop not only enhances the natural beauty of the wood but also ensures lasting protection against moisture, stains, and wear. Whether you choose polyurethane for a glossy, durable surface or food-safe oil for a natural matte finish, patience and consistency are key. With regular maintenance and proper care, your countertop will remain a safe, elegant, and long-lasting centerpiece in your kitchen.
About Kitchenoro
Kitchenoro is your trusted partner for complete kitchen remodeling, renovation, and elegant design. We specialize in premium cabinet installation, countertops, and transforming kitchens into luxurious, functional spaces. With expert craftsmanship and tailored solutions, Kitchenoro turns your vision into reality. Contact us to elevate your kitchen’s style and functionality!