
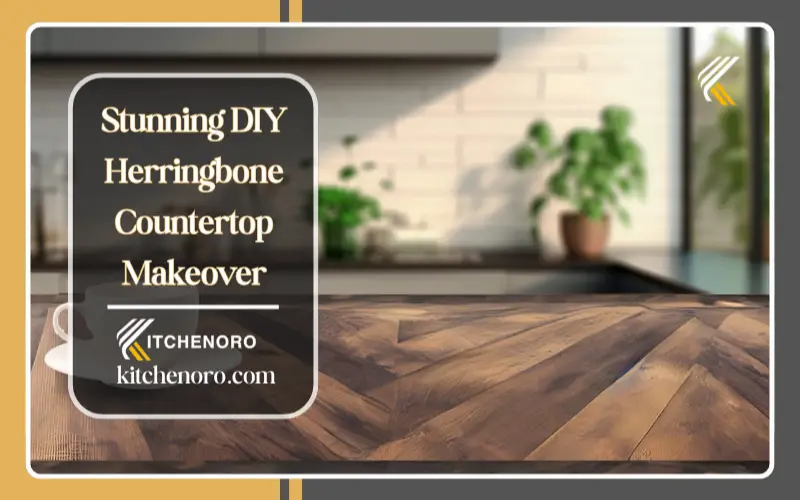
A DIY herringbone countertop is a stylish, budget-friendly way to upgrade your kitchen or workspace without the price tag of stone or quartz. Using affordable materials like plywood and pine boards, you can build a herringbone wood countertop for under $100, achieving a custom, designer look with basic tools.
If you’re still comparing surfaces, see our guide on countertop replacement options to explore wood, laminate, and stone alternatives before starting your project.
“I never thought I could build a countertop myself, but this herringbone project completely changed my kitchen for under $100. It looks like something from a high-end design magazine.”
— Maria L., Brooklyn, NY
DIY Herringbone Countertop-Quick Answer:
To build a DIY wood countertop in a herringbone pattern, cut wood strips to uniform width, stain them for depth, and arrange each piece at a 45-degree angle in a repeating V-shape. Secure the layout to a plywood base using wood adhesive and finish nails, then seal with polyurethane or epoxy for durability and water resistance.Estimated build time: 1–2 days
Skill level: Beginner to intermediate
Materials Needed
-
2×4 premium kiln-dried whitewood
-
Pine wood trim
-
Wood adhesive
-
3-1/2 in. exterior wood screws
-
Painter’s tape
-
Rust-Oleum Ultimate Wood Stain (Kona)
Tools & Equipment
-
Sealant gun
Creating a Herringbone Countertop (Step-by-Step)
1. Preparing the Wood
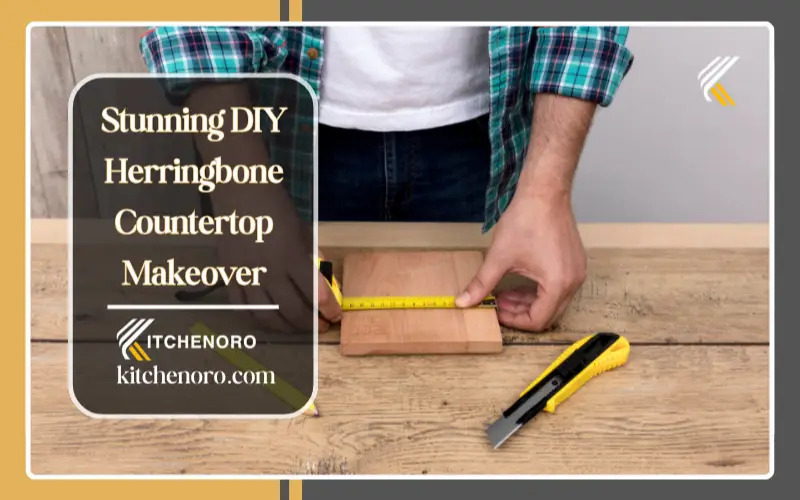
Cut plywood or boards into 3-inch strips using a table saw. Sand each piece with 150-grit sandpaper to smooth rough edges. Apply stain evenly, allowing slight variations in absorption for natural character.
Pro tip: Lightly dampening select boards before staining creates contrast and a more custom, rustic finish — ideal for a DIY butcher block or wood countertop look.
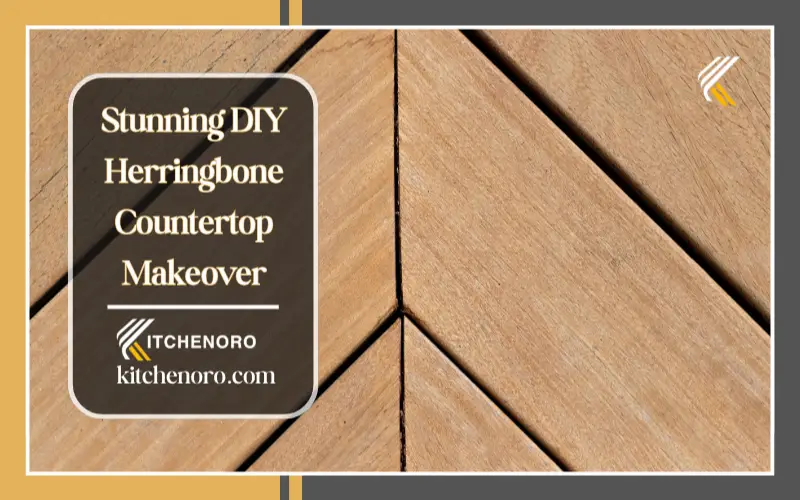
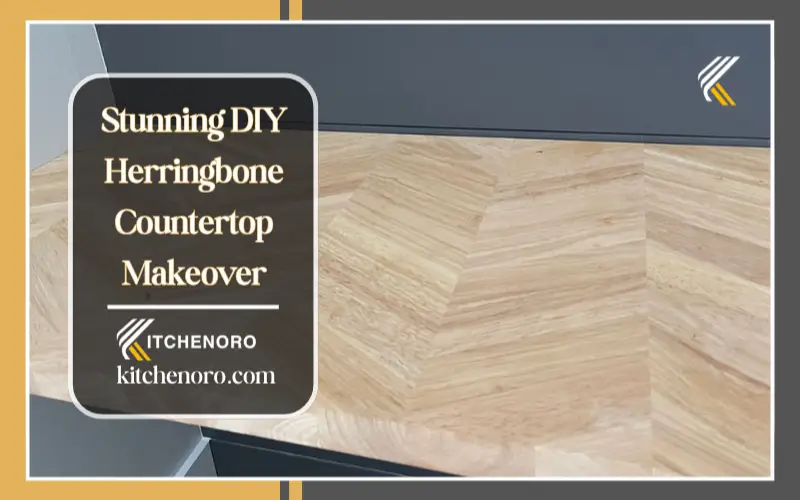
2. Assembling the Herringbone Pattern
Dry-fit the entire layout on a flat surface before gluing. Cut each piece at a 45-degree angle using a miter saw with a stop block to keep lengths consistent.
Contractor Tip:
“Always dry-fit the full herringbone pattern first. Even a small alignment drift compounds quickly and costs hours to fix later.”
— James Holloway, Licensed General Contractor
How to Place the Herringbone Boards
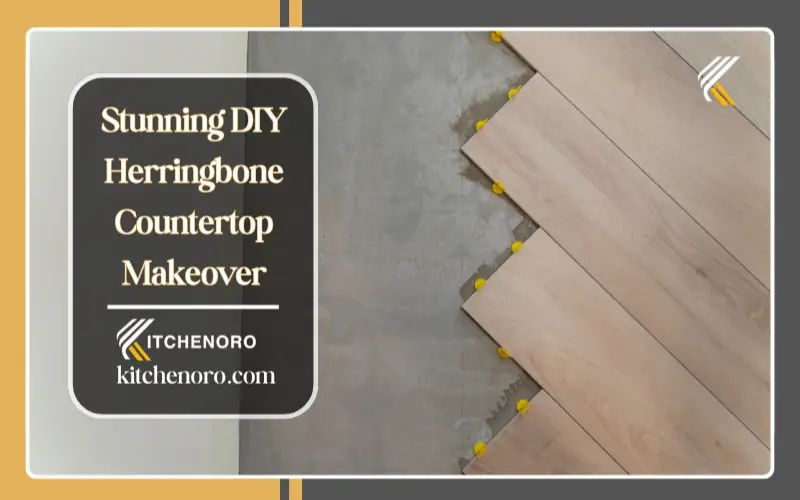
1. Preparing the Base
Install a plywood sheet over your cabinets to create a solid, level base. Secure the first board along a straight edge to establish a clean reference line.
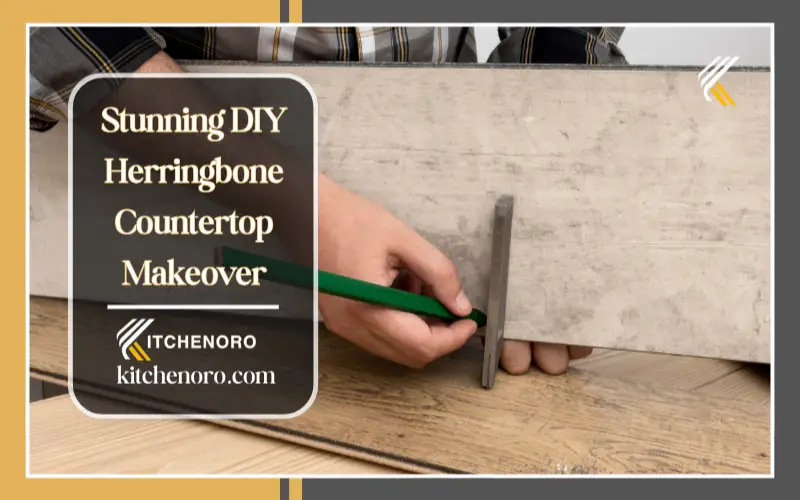
2. Aligning and Cutting
Glue and clamp each board as you go. Use a T-square to maintain alignment and spacing. Spacer boards help ensure uniform joints while cutting.
3. Final Surface Prep
Once installed, sand the entire surface flat using an orbital sander. Fill small gaps with wood filler, then sand again before sealing.
Trimming the Countertop Edges
Planning & Accuracy
Clamp a straightedge or 2×4 guide before trimming edges with a circular saw. Slow, steady cuts prevent tear-out and uneven seams.
Finishing the Edges
Stain the edges to match the surface and wipe excess with mineral spirits. Apply polyurethane, lacquer, or epoxy for long-term protection.
Customizing Your Herringbone Countertop Look
-
Stain options: Kona, Black Walnut, or Espresso for warmth
-
Antique finish: Mix paint with stain for a weathered look
-
Hidden seams: Use sawdust mixed with wood glue
-
Top finishes:
-
Water-based polyurethane (easy maintenance)
-
Hardwax oil like Rubio Monocoat (natural feel)
-
Epoxy resin (maximum water resistance)
-
Maintenance tip: Reseal your wood countertop every 12–18 months to protect against moisture and stains.
Cost & Value Insight
According to the National Kitchen & Bath Association, homeowners can save 40%–70% by choosing DIY wood or laminate countertops instead of stone.
That makes a DIY herringbone wood countertop one of the highest-impact upgrades for budget-conscious kitchen remodels.
Sources & Citations
-
National Kitchen & Bath Association (NKBA) – Kitchen & Bath Market Outlook
https://nkba.org -
United States Environmental Protection Agency (EPA) – Safer Choice Program
https://www.epa.gov/saferchoice -
Consumer Reports – Home Materials & Surface Care Guidance
https://www.consumerreports.org
FAQs
1-How to make a herringbone design?
To create a herringbone countertop, start by cutting rectangular pieces of wood or tile at a 45-degree angle. Arrange the pieces in a V-shape, ensuring the short side aligns with the long side of the next piece. Maintain symmetry by focusing on the meeting points and ensuring each piece fits perfectly. This symmetrical pattern will give your countertop a stunning look. Take time with the degree of the angle and the arrange of the pieces for a smooth, professional finish.
2-What is the easiest countertop to DIY?
The easiest DIY countertop to create is typically laminate, as it’s affordable, easy to cut, and quick to install. It can be customized with paint or contact paper for a personal touch. Wood is another option, but it requires more skill for fabrication. Tile offers great options and durability, making it a popular choice for a stylish yet functional countertop.
3-How to cut wood for a herringbone pattern?
To cut wood for a herringbone pattern, start by cutting the first board at a 45-degree angle. Use this piece as a template to mark and cut the remaining pieces with consistent lengths. A miter saw with a stop block ensures accurate and repeatable cuts. Adjust the width of the pieces based on your desired size to achieve the overall pattern.
4-How to make an L-shaped countertop?
To create an L-shape countertop, cut two pieces to size, then butt them together to be installed. Use a clamp to hold them tightly on the work surface for a secure fit.
Conclusion
A DIY herringbone countertop is an affordable, creative way to transform your kitchen or workspace. With careful measurements and basic tools, you can achieve a high-end, custom surface that rivals designer countertops — without the designer price.
And if you’d rather skip the DIY work, Kitchenoro’s expert team can design and install a custom herringbone countertop tailored to your space.
About Kitchenoro
Kitchenoro is your trusted partner for complete kitchen remodeling, renovation, and elegant design. We specialize in premium cabinet installation, countertops, and transforming kitchens into luxurious, functional spaces. With expert craftsmanship and tailored solutions, Kitchenoro turns your vision into reality. Contact us to elevate your kitchen’s style and functionality!