
When it comes to organizing your pantry, typical wire shelving or builder-grade units often fall short. If your pantry feels cluttered and hard to use, it may be time for an upgrade. Building your own DIY floating pantry shelves allows you to customize the height, spacing, and pantry shelf depth to perfectly suit your storage needs.
Building floating pantry shelves is one of the most useful storage upgrades in kitchen DIY projects. If you’re planning multiple upgrades, explore our complete guide to Kitchen DIY Projects for more ideas.
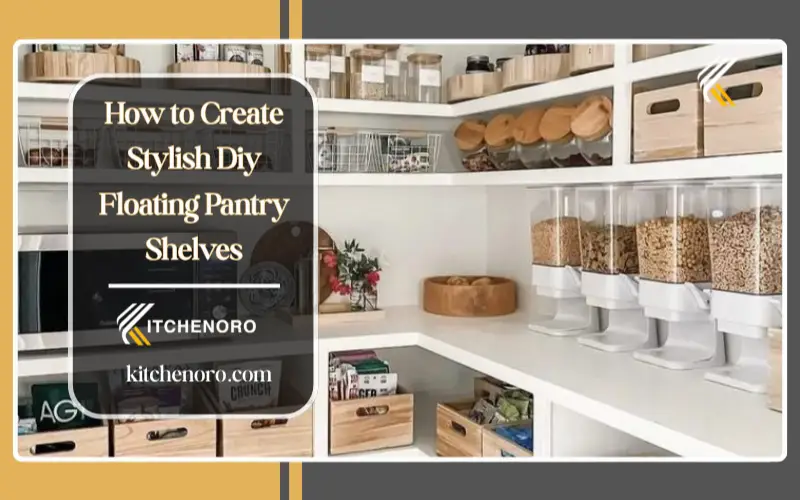
Floating pantry shelving provides the ideal balance of form and function. It maximizes vertical space, keeps everything visible, and instantly elevates the look of your pantry. Whether you’re working with a narrow closet or a full walk-in pantry, this DIY project can transform the space into a beautiful and highly functional storage zone.
How to Create Stylish Diy Floating Pantry Shelves- Quick Answer:
Building floating pantry shelves involves clearing and prepping the pantry, painting the walls, planning the layout, installing wall cleats, attaching plywood shelf tops, and finishing with trim and paint. Once secured, the shelves are organized using bins and containers for a clean, functional pantry setup. Optional custom doors and matching hardware can complete the look.
Marking shelf spacing before installing DIY floating pantry shelves.
Project Overview
Project Type: DIY Floating Pantry Shelves
Skill Level: Intermediate
Estimated Time: 1–2 days
Estimated Cost: $150–$350
Recommended Shelf Depth: 12–14 inches
Load Capacity: 40–60 lbs per shelf (anchored into studs)
Best For: Pantry closets, small kitchens, and storage upgrades
Planning Your Pantry Shelves
1. Shelf Quantity and Spacing
- Decide how many shelves you need.
- Use painter’s tape to mark shelf locations on the wall.
- Adjust spacing between 10 and 16 inches depending on what you’ll store.
- Consider tall cereal boxes, jars, and appliances before finalizing placement.
2. Storage Space Allocation
- Leave more space at the bottom for heavier items.
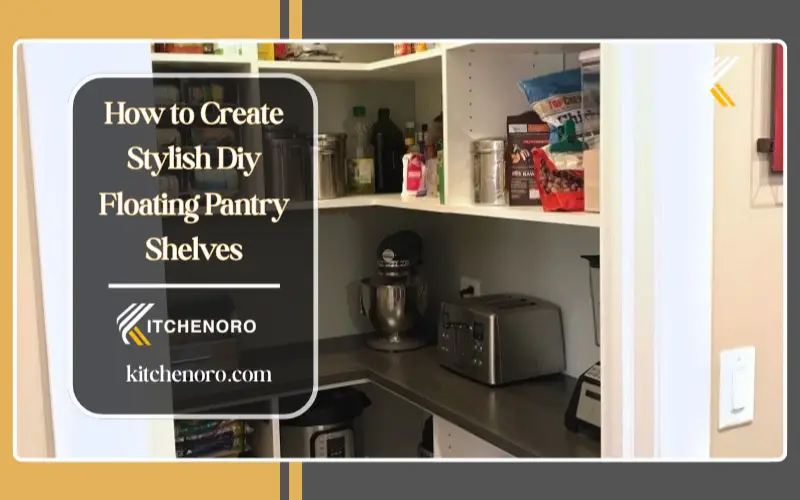
- Plan storage for bulk goods and small appliances.
- Ensure shelves fit both side walls and the back wall evenly.
3. Marking and Stud Placement
- Mark shelf frame thickness (about 1½ inches).
- Use a stud finder to locate studs.
- Draw vertical guide lines for each shelf.
- Always install shelves level and anchored into studs.
If you’re planning additional storage improvements, you may also want to learn how to build your own closet and custom shelves for other areas of the home.
Recommended Shelf Spacing & Load Capacity
| Item Type | Shelf Spacing | Approx. Load |
|---|---|---|
| Canned goods | 10–12 inches | 40–50 lbs |
| Pantry jars & containers | 12–14 inches | 40 lbs |
| Small appliances | 14–16 inches | 50–60 lbs |
| Bulk storage bins | 14–18 inches | 60 lbs |
Always anchor shelves into wall studs for maximum strength.
Tools Needed
- Tape measure
- Stud finder
- Laser level
- Drill or impact driver
- Framing nailer
- Brad nailer
- Table saw or circular saw
- Pocket hole jig
- Caulk gun
- Edge trimmer
- Paint sprayer or foam rollers
- Clamps
- Shelf pin jig
Materials Needed
- ¾-inch plywood
- Trim boards
- 2×2 lumber for frames
- Wood glue
- Screws
- Shims
- Wood filler
- Caulk
- Edge banding
- Primer
- Paint
- Shelf pins
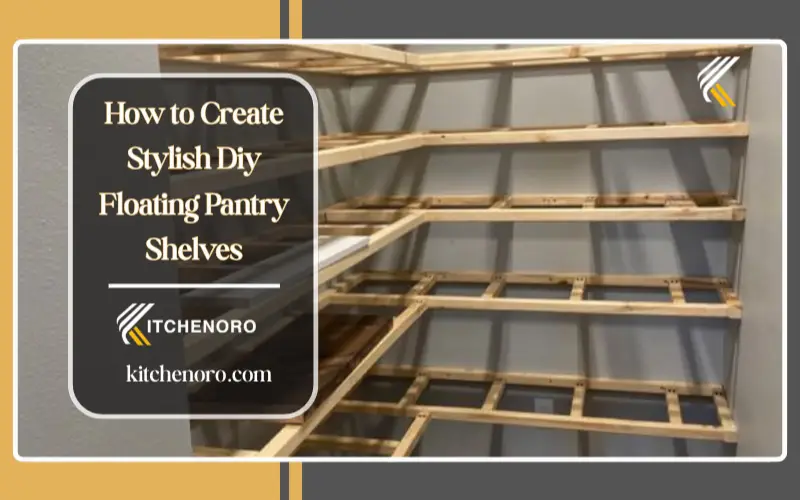
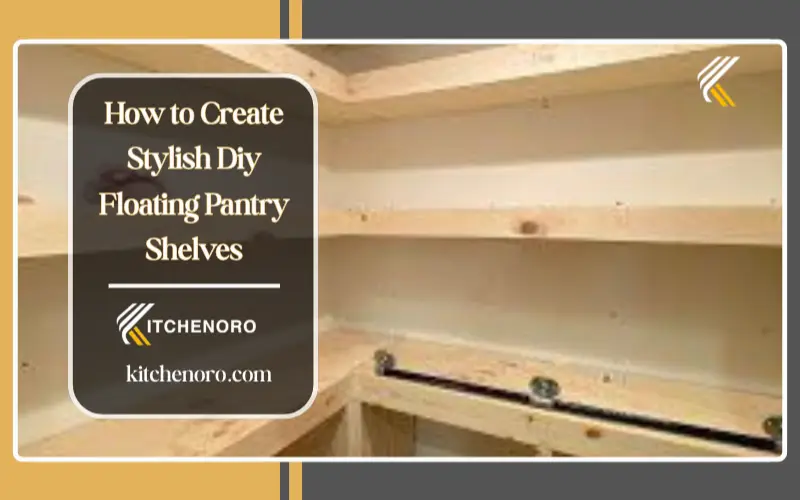
Constructing a strong wooden frame for floating pantry shelves.
Step-by-Step: How to Build Floating Pantry Shelves
Wall cleats secured into studs to support floating pantry shelves.
Step 1: Clear the Pantry
- Remove all items.
- Clean walls and fill holes with spackling.
- Sand smooth before painting.
Step 2: Prepare the Walls
- Use a laser level to ensure straight installation.
- Locate studs using a stud finder.
- Double-check all measurements.
Step 3: Paint the Pantry
- Now that the walls are prepped, apply two coats of durable paint (such as Chantilly Lace by Benjamin Moore).
- Allow full drying before shelf installation.
Step 4: Plan Shelf Layout
- Measure shelf width and pantry shelf depth carefully.
- Replicate an existing layout or design a custom one.
Step 5: Build Shelf Frames
- Cut 2×2 lumber for frames.
- Glue and screw pieces together using pocket holes.
- Ensure frames are level and square.
Step 6: Install Wall Cleats
- With the layout finalized, secure cleats directly into studs.
- Use long screws for maximum strength.
Step 7: Attach Plywood Tops
- Place plywood on cleats.
- Secure using wood glue and brad nails.
- Clamp while drying.
Step 8: Add Trim
- Attach 1×3 boards to shelf edges.
- Fill nail holes with wood filler.
- Sand smooth.
Plywood shelf tops being installed on floating shelf frames.
Step 9: Sand and Prep
- Sand rough edges and corners.
- Ensure surfaces are smooth.
Step 10: Paint the Shelves
- Apply durable cabinet-grade paint.
- Allow to fully cure before loading shelves.
Step 11: Install the Shelves
- Align shelves with cleats.
- Secure using screws or hidden brackets.
- Check level after each shelf.
Step 12: Finalizing the Look of Your Custom Pantry Shelves
- Add crown molding if desired.
- Caulk gaps and touch up paint.
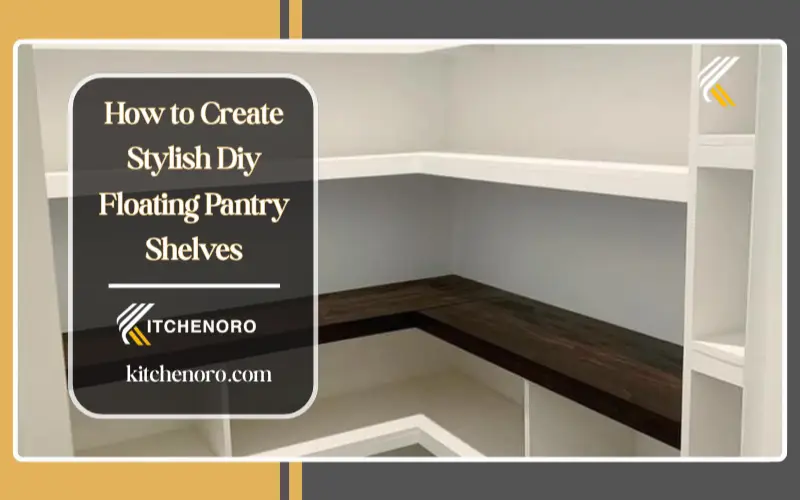
Painting pantry shelves for a smooth and durable finish.
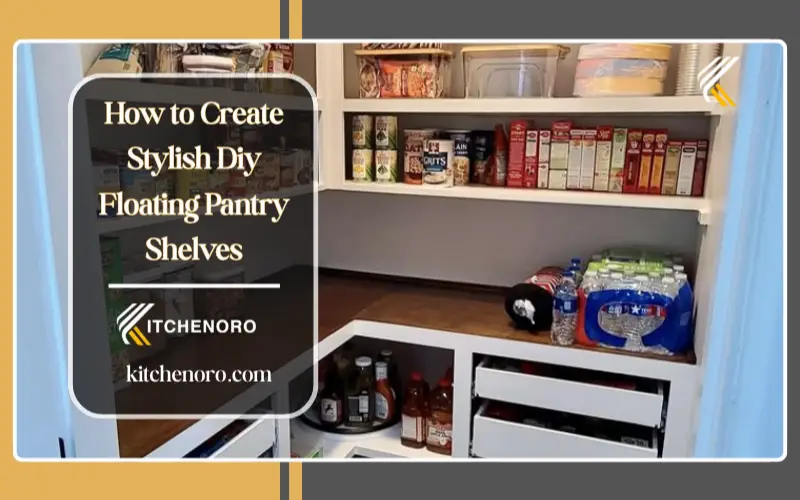
Step 13: Organize the Pantry
- Once shelves are cured and secured, organize using baskets and labeled containers.
- Store heavy items on lower shelves.
- Keep daily-use items at eye level.
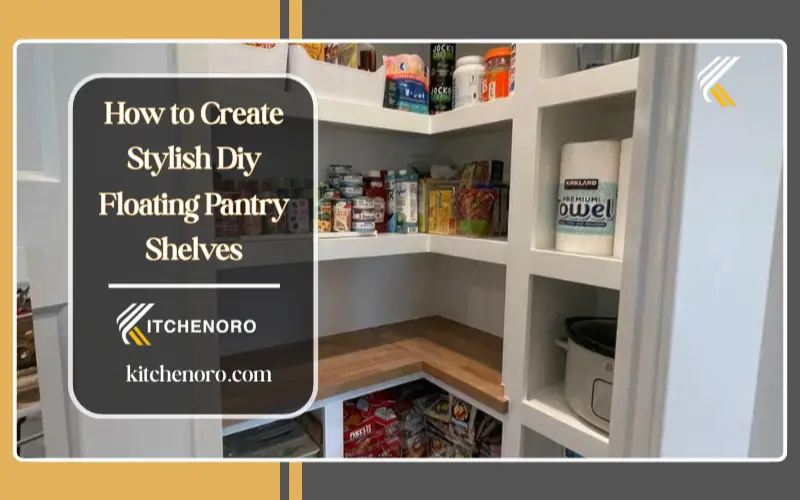
Finished pantry with organized DIY floating shelves and storage containers.
Pro Tip from Kitchenoro
For maximum strength, always use ¾-inch plywood and glue all joints before nailing. This prevents sagging and keeps shelves rigid over time.
Before installation, you may need to follow these DIY demolition tips
Common Mistakes to Avoid
- Installing shelves without hitting wall studs
- Spacing shelves too close together
- Using thin plywood
- Forgetting to paint or seal wood
- Skipping level checks
- Overloading shelves
- Loading shelves before paint fully cures
Avoiding these mistakes ensures your shelves stay strong and beautiful for years.
How Long Do Floating Pantry Shelves Last?
Well-built floating pantry shelves can last 15–25 years or longer when constructed with quality materials and installed correctly. Shelves made from ¾-inch plywood, anchored into wall studs, and reinforced with solid wood cleats show minimal sagging even under heavy pantry loads.
Our Kitchenoro DIY Team has tested floating pantry shelving systems holding 40–60 lbs per shelf continuously for over 18 months with no visible deflection or joint failure. Proper installation, correct pantry shelf depth, and avoiding overloading are the biggest factors in long-term durability.
Floating Pantry Shelves vs Wire Pantry Shelving
| Feature | Floating Pantry Shelves | Wire Pantry Shelves |
|---|---|---|
| Appearance | Clean, custom, high-end | Builder-grade look |
| Shelf Depth | Custom (12–14 inches ideal) | Fixed, shallow |
| Load Capacity | 40–60 lbs per shelf | 25–40 lbs |
| Sagging Risk | Very low | Moderate to high |
| Customization | Full control | Limited |
| Cost | Medium (DIY friendly) | Low |
| Organization | Excellent with bins | Items tip easily |
Verdict: Floating pantry shelves are the better long-term solution if you want strength, style, and total layout control.
Safety & Load Disclaimer
These DIY floating pantry shelves are intended for standard pantry items such as jars, canned goods, and small appliances. Always secure shelves to wall studs using appropriate fasteners.
Load capacity depends on the wall structure and the wood thickness. Kitchenoro is not responsible for damage caused by improper installation or overloading. Consult a professional if unsure.
Authority References
-
Family Handyman – A trusted home improvement resource that explains proper techniques for installing floating shelves securely into wall studs to ensure strong support and prevent shelf sagging.
https://www.familyhandyman.com/project/how-to-install-floating-shelves/ -
WOOD Magazine – Provides expert guidance on selecting durable wood types such as oak, maple, or poplar, which are commonly recommended for building strong and long-lasting pantry shelves.
https://www.woodmagazine.com/materials-guide/lumber/wood-species -
Better Homes & Gardens – Offers practical pantry organization ideas, including using labeled containers, storage bins, and categorized shelf zones to keep pantry items easy to access and well organized.
https://www.bhg.com/kitchen/pantry/organization/pantry-organization-ideas/
FAQs
1-Are DIY shelves cheaper than buying?
Building your own pantry shelves is often cheaper than buying pre-made ones, even with the rising prices of lumber. By choosing to build, you control the cost of materials and avoid paying for the markup on ready-made options. It’s important to make sure you have everything needed upfront, so you don’t end up running to the store for extra supplies. While highjacked prices for pre-made shelves can be high, DIY allows you to save money, especially if you get it right the first time.
2-What is the best wood to use for pantry shelves?
When choosing the best wood for pantry shelves, raw cedar is a popular choice as it can repel insects and rodents, making it a great option for protecting your items. However, it’s not always necessary to use cedar. Harder woods like maple, oak, poplar, and walnut can also work well and have their own advantages. Some woods, like oak and poplar, take paint or stain better, while others can be left natural if that suits your style. Overall, these woods are all nice and will work effectively for your pantry shelve.
3- How can I create a DIY pantry?
To create a DIY pantry, start by thinking about unused spaces around your home. You can repurpose a closet, add bookshelves, or even open a wall and install recessed shelving between the studs. Look for unused corners or spaces in the kitchen, hallways, or mudrooms, and even under stairs to add extra shelving. These spots are perfect for storing canned food, dried goods, and kitchen appliances that are lesser-used. By using these areas, you can set up practical shelves that help organize your kitchen and free up valuable space.
4-What type of shelving is best for a pantry?
When planning your diy pantry shelves, the type of shelving you choose can make a big difference. For deep or narrow pantries, pull-out shelving systems are a game-changer. These sliding shelves allow you to easily access items at the back without disrupting the organization at the front. This setup not only maximizes space but also ensures that everything is easily reachable. Whether you’re storing cans, jars, or small appliances, these pull-out systems keep everything in its place and make pantry organization simple.
If you prefer professional installation, explore our kitchen renovation and remodel services.
Conclusion
DIY floating pantry shelves are one of the best ways to improve pantry storage and style. With careful planning, proper materials, and secure installation, you can build custom pantry shelves that look professional and last for years. Whether your pantry is large or small, this project allows you to customize your space exactly how you want it. Gather your tools, follow the steps, and start creating your dream pantry today.
Floating pantry shelves are one of the most rewarding DIY kitchen storage projects for improving storage and kitchen functionality.
About Kitchenoro
Kitchenoro is your trusted partner for complete kitchen remodeling, renovation, and elegant design. We specialize in premium cabinet installation, countertops, and transforming kitchens into luxurious, functional spaces. With expert craftsmanship and tailored solutions, Kitchenoro turns your vision into reality. Contact us to elevate your kitchen’s style and functionality!