
My DIY countertop journey began in our basement kitchen, where the old laminate surface desperately needed an update. I wanted a modern stone look without paying premium stone prices.
After studying dirty pour and exotic veining methods, I discovered that layered paint and controlled pouring could create highly realistic marble patterns. This technique provided creative freedom and allowed room for small mistakes.
DIY epoxy countertops are one of the most affordable upgrades you can make in a kitchen. If you’re exploring other DIY kitchen projects, check out our complete guide to kitchen improvements.
With proper preparation and the right materials, epoxy can transform worn laminate or plywood into a smooth epoxy kitchen counter or faux marble countertop.
We’ve completed over 40 epoxy countertop projects using this method, refining our faux marble techniques to balance realism with durability.
DIY epoxy countertops are one of the most affordable resurfacing options available. Instead of tearing out old counters, many homeowners epoxy over laminate. When comparing epoxy countertops vs granite, epoxy wins on price and design flexibility, while granite wins on heat resistance and lifespan.
Smart Way to Create DIY Epoxy Countertops- Quick Answer:
DIY epoxy countertops involve building a sturdy MDF/plywood base, shaping smooth edges, and creating a faux marble look with primer, paint, and veining techniques. After sealing with epoxy, adding a backsplash, and allowing 7–30 days to cure, you get a durable, modern, budget-friendly kitchen upgrade.
Essential tools and materials for epoxy countertop installation.
Project Overview
Project Type: Countertop resurfacing with epoxy
Skill Level: Intermediate (basic carpentry + painting skills)
Time Required:
- Prep & paint: 1–2 days
- Epoxy pour: 1 day
- Cure before use: 3–7 days
- Full cure: 30 days
Estimated Cost:
- Small kitchen: $100–$150
- Medium kitchen: $150–$200
While epoxy counters cost around $100–$200, understanding DIY kitchen cabinets cost can help plan your full renovation budget.
Safety First
Before starting:
- Wear gloves and safety glasses
- Use a respirator or mask
- Work in a well-ventilated area
- Keep epoxy away from open flames
Epoxy fumes and skin contact can be harmful. Never mix epoxy indoors without ventilation. Always open windows and use fans to maintain continuous airflow. Before installation, you may need to follow these DIY demolition tips
Tools You Will Need
- Circular saw
- Table saw
- 24″ and 48″ levels
- Brad nailer
- Jigsaw
- Drill with hole saw
- Orbital sander
- Foam paint rollers
- Heat gun
- Paint brushes
- Notched trowel
- Trim router
- Oscillating tool
Materials You Will Need
- 1″ plywood or MDF
- Bondo or wood filler
- Shellac-based primer
- Base paint (white or light gray)
- Accent paint (gray, black, gold)
- Glaze
- Sea sponge
- Lint-free cloth
- Plastic drop cloths
- Painter’s tape
- Two-part epoxy resin
- 80- and 220-grit sandpaper
- Isopropyl alcohol
- Paddle mixer
- Roller sleeves
Temperature & Humidity Limits
For best results:
- Ideal room temperature: 70–80°F (21–27°C)
- Minimum: 65°F (18°C)
- Humidity: below 80%
- Surface temperature must match room temperature
- Avoid direct sunlight during curing
High humidity causes cloudiness and slow curing. Cold temperatures make epoxy thick and difficult to spread.
Exact Epoxy Mixing Ratios (Example)
Most countertop epoxies use a 1:1 ratio by volume (always confirm manufacturer instructions).
Example mix:
- 16 oz resin
- 16 oz hardener
- = 32 oz total epoxy
Mix slowly for 3–5 minutes, scraping the sides and bottom. Transfer to a clean container and mix again for 1 minute (double-mix method).
Technical Application Specs
- Level tolerance: ±1/16 inch across the surface
- Recommended epoxy thickness per layer: 1/8″–1/4″
- Maximum thickness per pour: 1/2″ (deep-pour epoxy only)
- Edge overhang: 1–1.5 inches
Step-by-Step Process
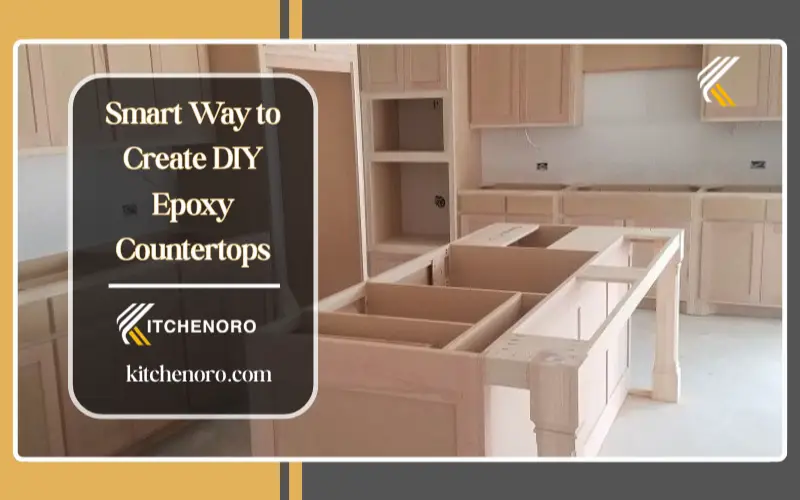
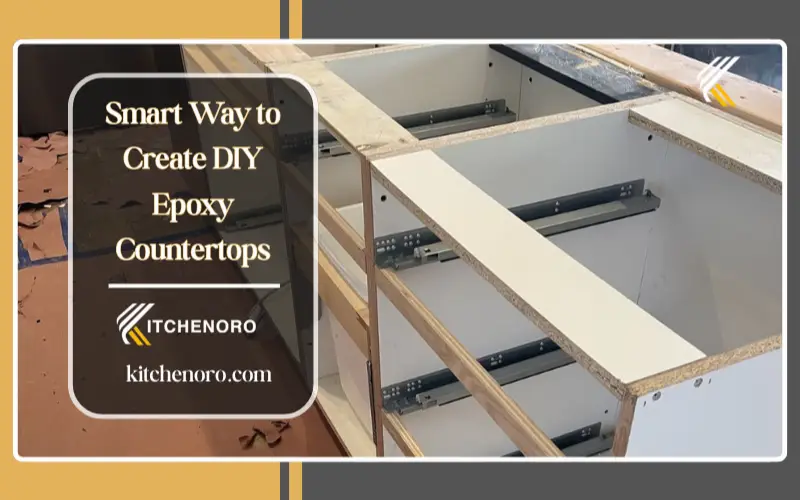
Cutting and preparing the countertop base.
Step 1: Build the Countertop Base
Cut MDF or plywood to fit your cabinets. The surface must be perfectly level to prevent pooling.
- Shim uneven cabinets
- Secure panels with brad nails
- Cut sink opening with jigsaw
- Drill faucet holes
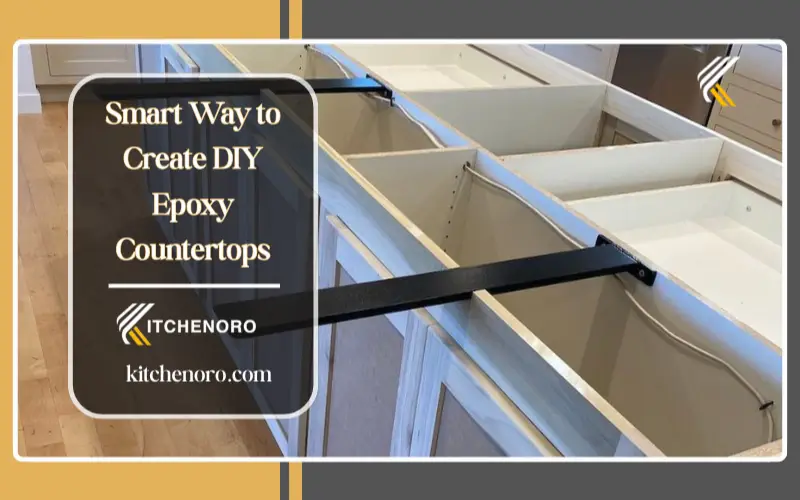
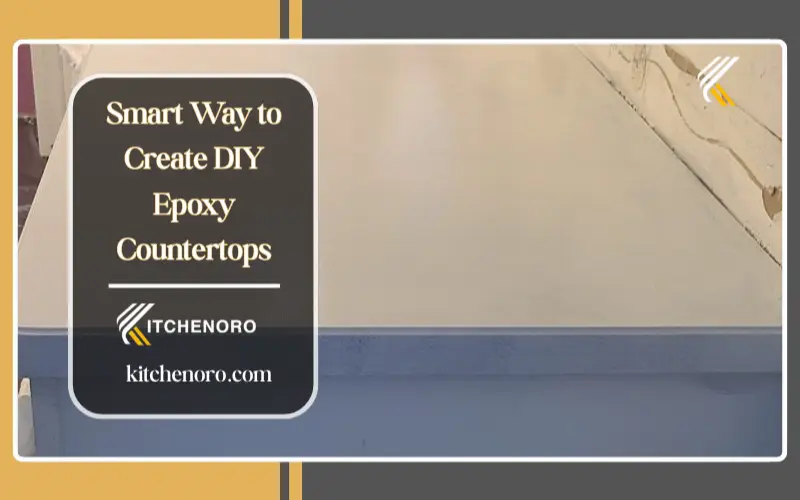
Leveling the countertop surface before epoxy application.
Because 1″ boards are thinner than standard countertops, glue a trim strip to the front edge for a thicker profile.
If you prefer natural wood surfaces, a DIY kitchen island countertop can be another beautiful countertop alternative.
Rounded edges help epoxy flow evenly.
Step 2: Shape the Edges
Choose an edge style:
- Bullnose
- Chamfer
- Rounded
- Natural stone
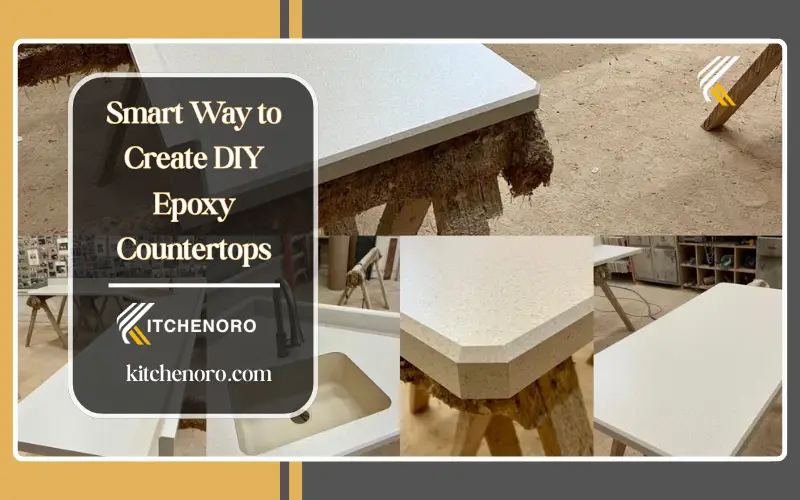
Filling seams to create a smooth surface.
Fill seams with Bondo and sand smooth with 220-grit sandpaper. Rounded edges work best because epoxy flows evenly and bonds poorly to sharp corners.
Step 3: Create a Faux Marble Design
Seal with shellac-based primer and roll on the base color.
Create marble veins using:
• Sea sponge
• Soft brush
• Feather
• Diluted paint mixed with glaze
Primer prepares the surface for paint and epoxy.
Blend lightly. If veins look too dark, soften with whitewash.
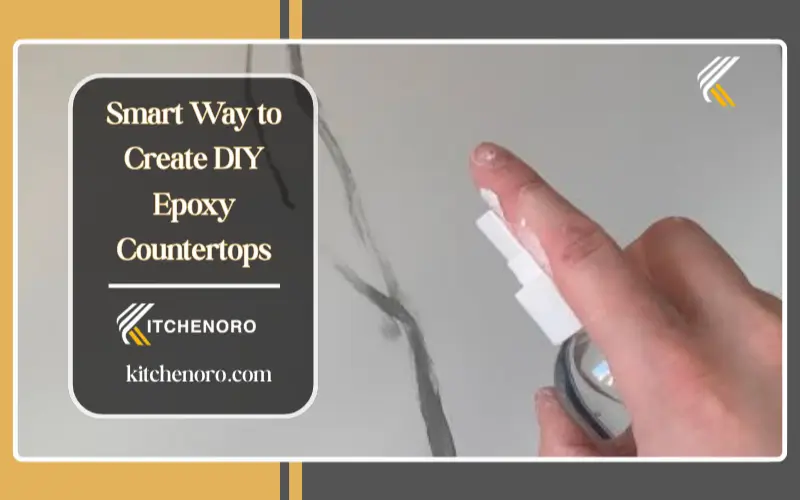
Painting marble veins before sealing with epoxy.
Step 4: Make a Faux Marble Backsplash
Prime and paint the backsplash using the same veining technique for visual continuity.
Allow paint to dry for 24 hours.
Many homeowners combine epoxy countertops with DIY cabinet painting to achieve a complete kitchen refresh.
Mixing resin and hardener before the epoxy pour.
Step 5: Pour the Epoxy
Preparation is critical:
- Cover cabinets and floors
- Tape off sinks and edges
- Measure resin and hardener precisely
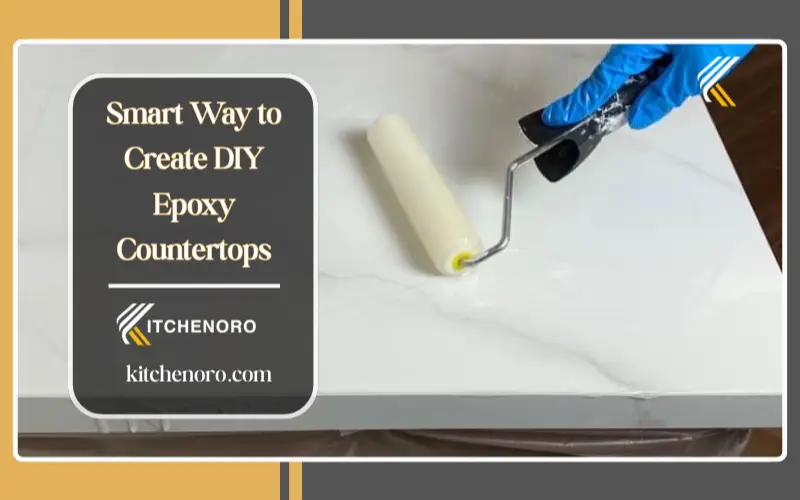
Pour epoxy in the center and spread outward. Use a roller for flat areas and a trowel for edges. Pass a heat gun lightly over the surface to remove bubbles.
Pouring epoxy across the countertop surface.
Working time: 45 minutes
Check for drips every hour.
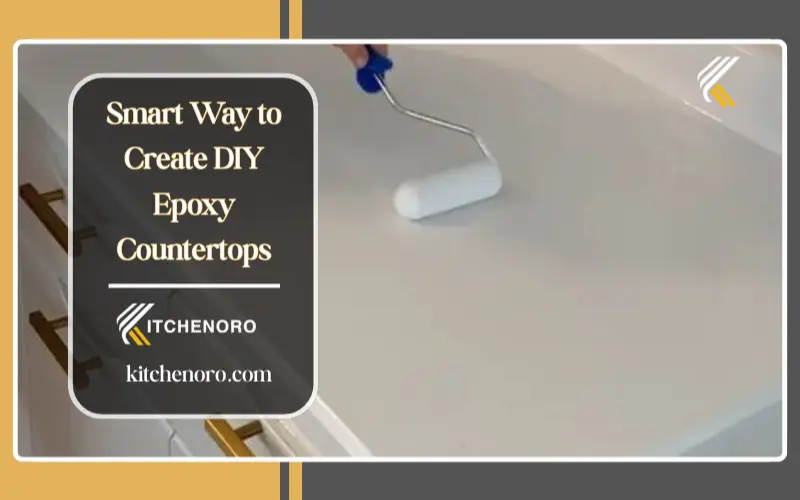
Rolling epoxy for an even finish.
Step 6: Install the Backsplash
Once epoxy has cured:
- Apply construction adhesive
- Press panels into place
- Let set overnight
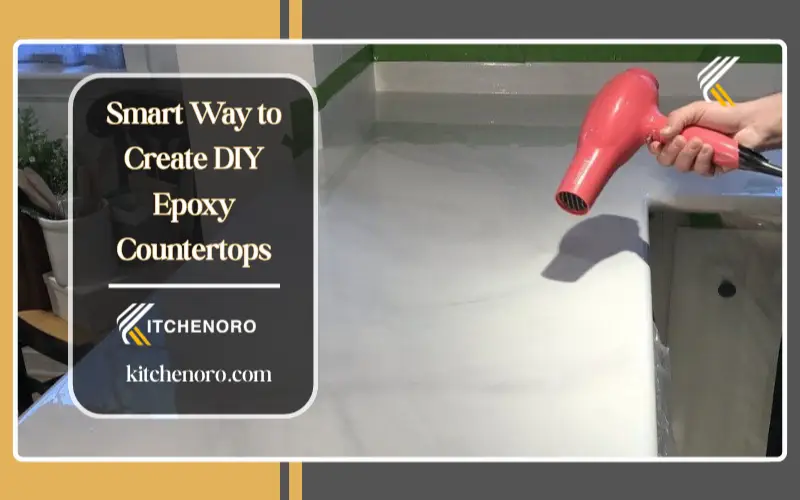
Heat gun removes bubbles from the epoxy surface.
Curing Timeline
| Stage | Time |
|---|---|
| Paint cure | 24 hours |
| Dry to touch | 24 hours |
| Light use | 3–4 days |
| Heavy items | 7 days |
| Full cure | 30 days |
Avoid heat and heavy appliances until fully cured.
Epoxy curing creates a durable glossy finish.
Common Mistakes to Avoid
- Pouring on an unlevel surface
- Mixing too fast (adds bubbles)
- Skipping primer
- Using sharp edges
- Touching epoxy during cure
- Forgetting drip checks
- Pouring too thick
- Allowing dust to settle
- Rushing cure time
Most failures come from poor prep and wrong temperature.
Adding backsplash after epoxy curing.
Epoxy Countertops vs Granite vs Laminate
| Feature | Epoxy | Granite | Laminate |
|---|---|---|---|
| Cost | Low ($100–$200 DIY) | High ($3,000+) | Low |
| Heat Resistance | Medium | High | Low |
| Durability | Medium–High | Very High | Low |
| Design Flexibility | Unlimited | Limited | Limited |
| DIY Friendly | Yes | No | Yes |
| Lifespan | 5–10 yrs | 20+ yrs | 5–8 yrs |
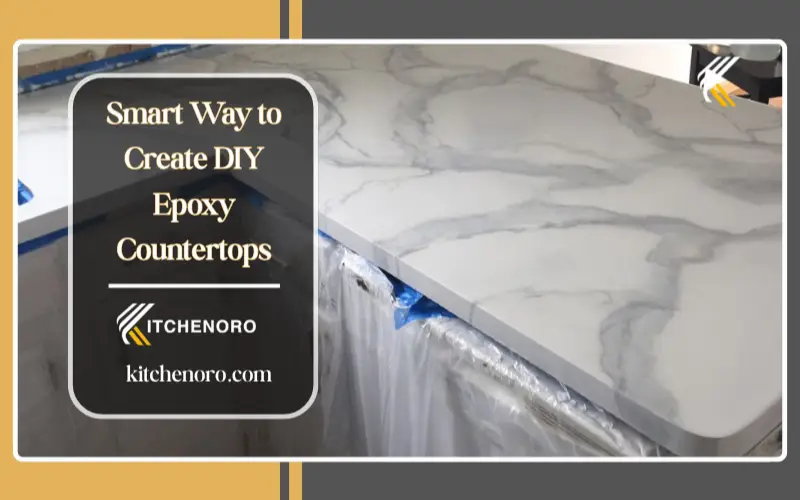
Final result of the epoxy countertop project.
How to Epoxy Laminate Countertops
You can epoxy over laminate if:
- Surface is sanded with 80-grit
- Degreased with alcohol
- Primed with shellac-based primer
- All seams are filled
Do not epoxy over loose or waxed laminate.
After upgrading your counters, you can also organize your workspace with a DIY knife block for safer kitchen storage.
Epoxy Countertop Durability
Epoxy typically lasts 5–10 years.
Longevity depends on:
- Thickness
- UV exposure
- Heat exposure
- Cleaning habits
Recoating restores gloss and scratch resistance.
Warranty & Food Safety Disclaimer
Epoxy countertops are decorative and protective surfaces, not cutting boards or hot plates.
- Always use cutting boards
- Always use trivets
- Verify epoxy is food-safe after full cure
- Manufacturer warranties vary and may be void if improperly mixed
This guide is for educational purposes only.
Pro Tips
- Mix epoxy in small batches
- Practice on scrap boards
- Use rounded edges
- Never rush curing
- Lightly sand before recoating
Best Epoxy Brands for Countertops
- Stone Coat Countertops
- TotalBoat Tabletop Epoxy
- MAS Countertop Resin
- Pro Marine Supplies Epoxy
- Superclear Liquid Glass
Choose UV-resistant, food-safe formulas.
FAQs
1-Are DIY epoxy countertops worth it?
Many homeowners say yes, and if I could go back I would definitely do it again because I truly believe it was the right choose for me. The exact method cost around $50, was surprisingly easy, and has held up far better than I ever dreamed. It is also incredibly simple to touch-up, unlike other epoxy counters that can be more trickier. Small touch-ups blend right in, making the surface look fresh and polished every time.
2-Can I DIY an Epoxy Countertop?
From my own experience, creating epoxy countertops is totally doable if you enjoy diy projects like painting old furniture or testing ideas on a sample set of boards. The key is to practice mixing the resin properly, since a small mess in the process can happen a couple of times before you master it, but the results last for years if done right.
3-How much does it cost to DIY epoxy countertops?
From my own experience, the kits themselves can cost anywhere between $100 and $200 or even beyond, but if you choose to hire a professional, which is often recommended, you may need them to install the countertop for you and expect to spend about $100 per square foot.
4-What Kind of Epoxy Works Best for Countertops?
When choosing the right type of epoxy for countertops, many experts recommend table top epoxy because it is the strongest option and holds up well against daily work and heavy surfaces like furniture. I often use it myself, and in some cases, another option like a deep pour formula can be applied in tandem with table top epoxy to create a smoother finish and extra durability.
Trusted Resources & Safety Guidelines
For safety standards, material performance, and countertop installation guidance, consult these trusted industry resources:
-
NIOSH – Epoxy Resin Safety Guidelines
https://www.cdc.gov/niosh/topics/epoxy/
(Explains proper ventilation, respirator use, and safe handling of epoxy resins.) -
EPA – Indoor Air Quality & Chemical Safety
https://www.epa.gov/indoor-air-quality-iaq
(Provides recommendations on ventilation and chemical exposure during indoor projects.) -
Natural Stone Institute – Countertop Material Comparison
https://www.naturalstoneinstitute.org/consumers/
(Industry authority explaining durability, heat resistance, and performance of countertop materials.)
Conclusion
DIY epoxy countertops are a smart, budget-friendly kitchen upgrade. With careful preparation, proper temperature control, and patience during curing, you can create a faux marble surface that looks professional and performs well for daily use. Whether resurfacing laminate or building from plywood, epoxy offers one of the most affordable countertop transformation options available.
Epoxy counters are one of many budget-friendly DIY kitchen projects homeowners can complete without a full remodel.
About Kitchenoro
Kitchenoro is your trusted partner for complete kitchen remodeling, renovation, and elegant design. We specialize in premium cabinet installation, countertops, and transforming kitchens into luxurious, functional spaces. With expert craftsmanship and tailored solutions, Kitchenoro turns your vision into reality. Contact us to elevate your kitchen’s style and functionality!