
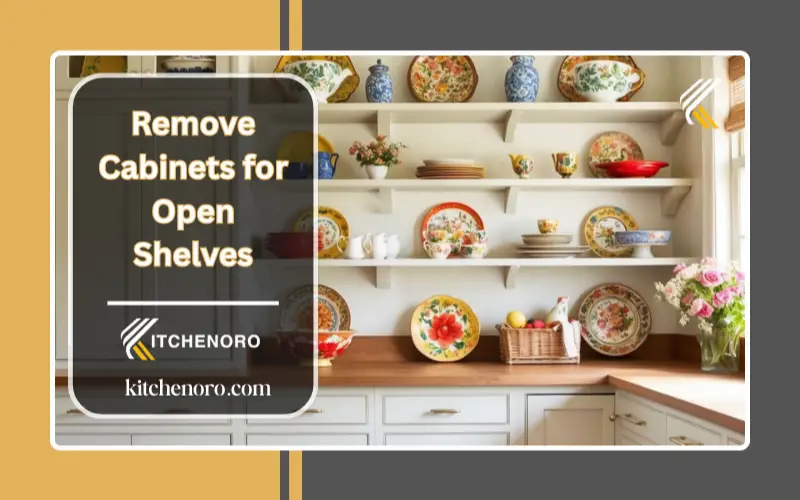
When I first decided to remove my cabinet doors and convert my kitchen cabinets into open shelving, I expected a complicated, time-consuming project. Instead, I was surprised by how straightforward—and rewarding—the process turned out to be.
With basic tools like a screwdriver, wood filler, sandpaper, and a little patience, I transformed closed cabinets into stylish open shelves in less than a weekend. The result was a brighter kitchen, easier access to everyday items, and a modern look—without tearing out cabinets or paying for expensive replacements.
This guide explains how to remove cabinets for stunning open shelves safely, cleanly, and professionally, whether you’re tackling a DIY upgrade or planning the work before hiring a professional.
How to Remove Cabinets for Stunning Open Shelves- Quick Answer:
To remove cabinets for stunning open shelves, detach cabinet doors and hardware, optionally remove center stiles, fill and sand holes, then add trim, caulk, paint, and a protective polyurethane finish. This affordable upgrade creates a modern, open look without removing cabinet boxes.
Who This Guide Is For
This guide is ideal for homeowners who want to:
-
Refresh their kitchen without a full remodel
-
Convert existing cabinets into open shelving
-
Improve kitchen brightness and accessibility
-
Achieve a modern look on a budget
-
Avoid unnecessary cabinet replacement costs
No advanced carpentry experience is required.
Project Overview: Time, Cost & Difficulty
| Factor | Estimate |
|---|---|
| Time Required | 4–8 hours (weekend project) |
| Skill Level | Beginner to Intermediate |
| Estimated Cost | Low (£30–£120 depending on materials) |
| Tools Needed | Basic hand tools |
| Structural Changes | None (if done correctly) |
Safety Considerations Before Removing Kitchen Cabinets
Before starting, take these important precautions:
-
Check for electrical wiring inside upper cabinets
-
Locate wall studs before cutting stiles or trim
-
Wear safety goggles and gloves when sanding or cutting
-
Do not remove structural cabinet panels
-
Disconnect appliances if cabinets are attached
Important Structural Note:
Never remove cabinet sides, backs, or load-bearing panels. These components provide structural integrity. Only doors, stiles, and cosmetic trim should be removed unless assessed by a professional.
Tools and Materials You’ll Need
| Tool / Material | Purpose |
|---|---|
| Screwdriver | Remove cabinet doors and hinges |
| Double-edge pull saw | Cut cabinet stiles cleanly |
| Wood filler / putty | Fill hinge and screw holes |
| Putty knife | Apply filler smoothly |
| Sandpaper (100 & 220 grit) | Surface preparation |
| Tack cloth | Remove sanding dust |
| Caulk & caulk gun | Seal seams and joints |
| Trim & finishing nails | Create a polished edge |
| Nail punch | Countersink nails |
| Primer & paint | Refresh cabinet interiors |
| Paintbrush & foam roller | Smooth paint application |
| Water-based polyurethane | Protect shelf surfaces |
Before You Start: Quick Checklist
- Empty all cabinets
- Photograph interiors for reference
- Label hinges and hardware
- Cover countertops and floors
- Confirm shelves can support the weight
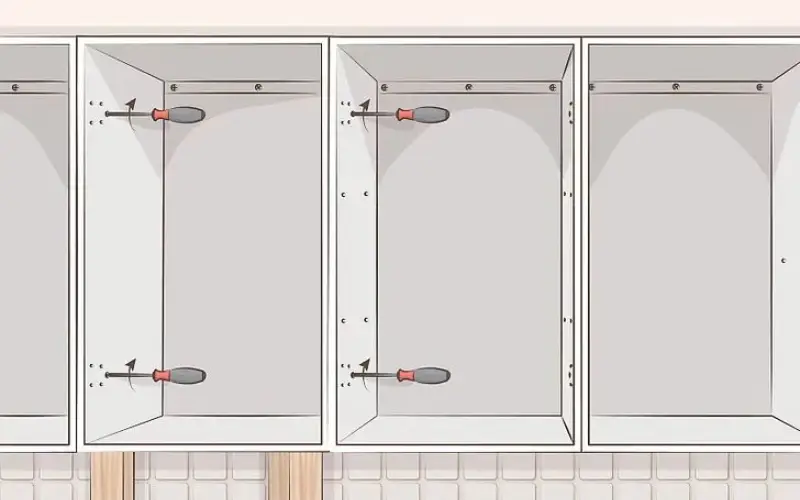
Step 1: Remove Cabinet Doors and Hardware
Using a screwdriver, remove all cabinet doors. For European or soft-close hinges, release the hinge clip to detach doors cleanly.
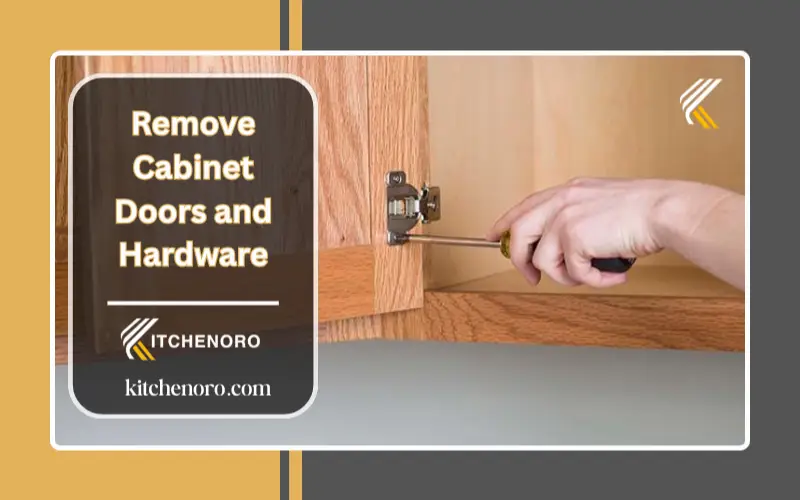
Store screws and hinges in labeled bags if you plan to reinstall doors later. As soon as the doors come off, the kitchen begins to feel noticeably more open.
Step 2: Remove Cabinet Stiles
Cabinet stiles are the vertical wood pieces between doors. Removing them creates a wider, more open shelf appearance.
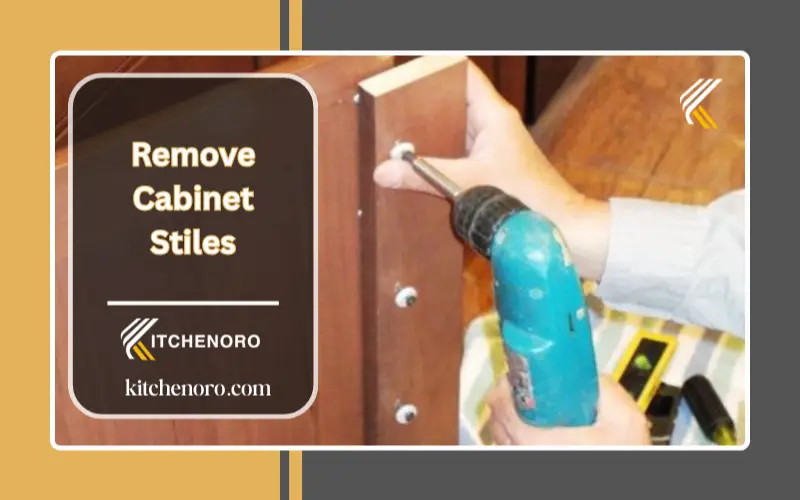
Using a double-edge pull saw, carefully cut through the center of the stile. Remove it gently, then sand the area smooth and wipe clean with a tack cloth.
This step is optional but greatly enhances the open-shelf look.
Step 3: Fill and Repair Holes
Hinges and hardware leave visible holes. Apply wood filler or quick-drying putty with a putty knife, following the manufacturer’s instructions.

Once dry, sand the area with fine-grit sandpaper until smooth and flush with the surface.
Step 4: Add Finishing Trim
Attach trim along the front edges of cabinet openings to create a clean, custom appearance. Secure with finishing nails, countersink them using a nail punch, then fill nail holes with putty.
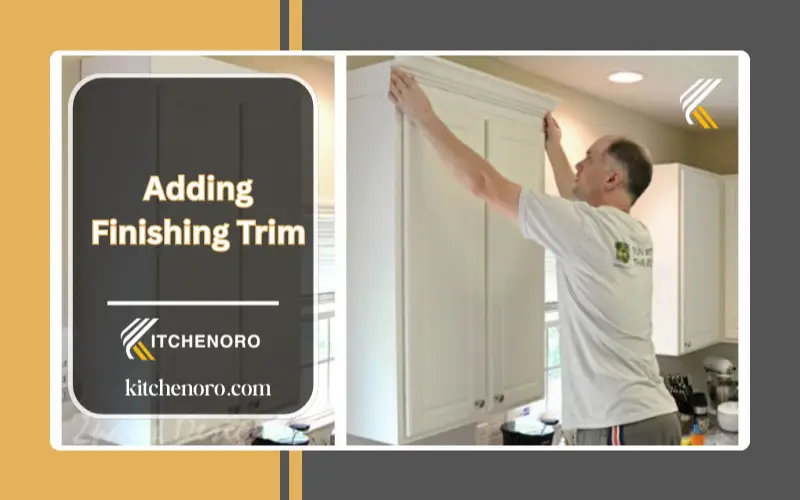
Allow filler to dry fully before sanding lightly.
Step 5: Sand Surface
Lightly sand all interior cabinet surfaces using 100-grit sandpaper. The goal is to scuff the surface—not strip it—so primer and paint adhere properly.
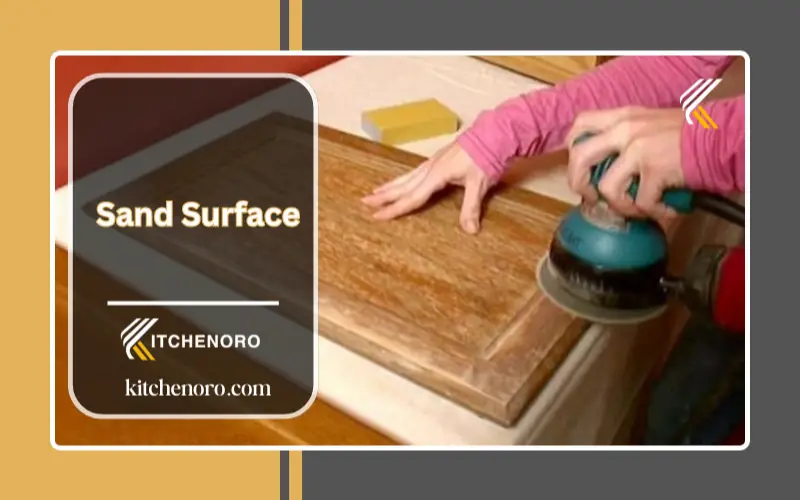
This step dramatically improves durability and finish quality.
Step 6: Caulking and Painting for a Smooth Finish
Apply paintable caulk along seams, joints, and edges. Smooth excess caulk with a damp finger or sponge.
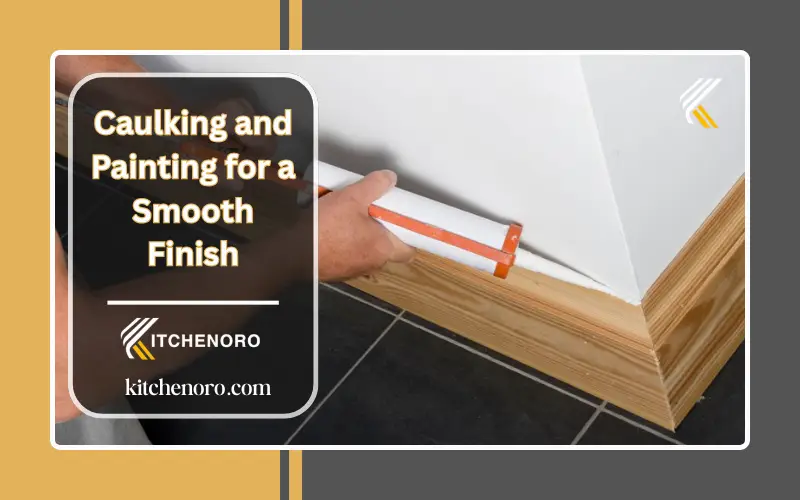
Prime the surfaces, then apply two coats of paint using an angled brush for corners and a foam roller for flat areas. Allow proper drying time between coats.
Step 7: Protecting Shelves with Polyurethane
Once the paint has cured, apply one to two light coats of water-based polyurethane. This protects shelves from scratches, moisture, and daily wear.
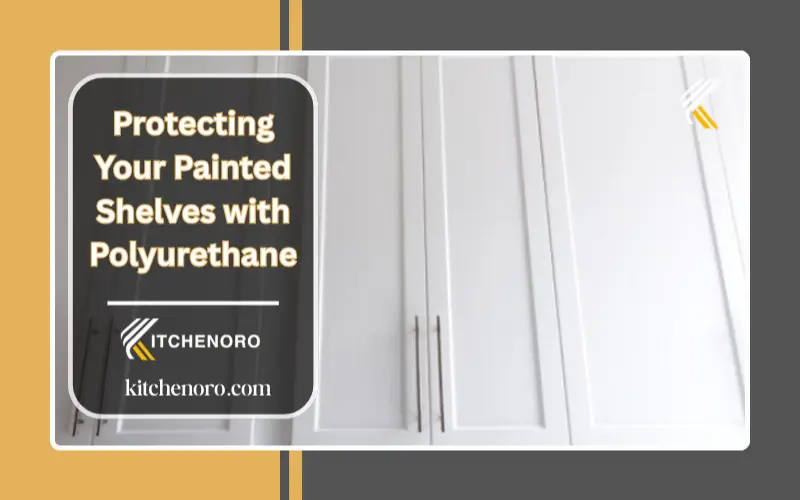
Allow at least 24 hours of curing before placing items back on the shelves.
Styling Tips for Stunning Open Shelves
-
Group items in odd numbers
-
Mix functional pieces with décor
-
Use uniform dishware for cohesion
-
Limit colors to two or three tones
-
Leave negative space for balance
Minimal styling keeps shelves elegant rather than cluttered.
Open Shelving vs Cabinets: Which Is Better?
Open Shelving – Pros
-
Bright, modern appearance
-
Easy access to daily items
-
Budget-friendly upgrade
-
Ideal for smaller kitchens
Open Shelving – Cons
-
Requires regular cleaning
-
Items remain visible
-
Limited storage for clutter
Best choice: Open shelving works best for organized homeowners seeking style and accessibility without a full remodel.
DIY vs Professional Cabinet Modification
| DIY | Professional |
|---|---|
| Lower cost | Perfect finish |
| Flexible timeline | Faster completion |
| Requires patience | No mistakes |
| Best for small upgrades | Ideal for premium kitchens |
How to Maintain Open Kitchen Shelves
-
Wipe shelves weekly to prevent grease buildup
-
Store only everyday items
-
Use sealed finishes like polyurethane
-
Avoid overcrowding
-
Reapply protective coating every 2–3 years
Common Mistakes to Avoid
-
Skipping sanding before painting
-
Forgetting to seal shelves
-
Removing structural cabinet parts
-
Overloading shelves with heavy items
-
Ignoring trim and caulking details
FAQs
1) Can you remove kitchen cabinets without destroying them?
Yes. With careful detachment and proper tools, cabinets can be modified or removed without major damage.
2) How Hard Is It to Pull Out Kitchen Cabinets?
Most cabinet modifications are beginner-friendly with basic tools and planning.
3)Should I remove cabinet doors instead of replacing cabinets?
Absolutely. Removing doors is far more affordable and still delivers a modern look.
4) Are Open Kitchen Shelves Worth It?
For many homeowners, open shelving improves accessibility, style, and functionality—especially in active kitchens.
Conclusion
Removing cabinets for open shelving is one of the most cost-effective ways to transform a kitchen. With thoughtful preparation and attention to detail, you can achieve a bright, modern look that enhances both style and usability—without a full remodel.
Ready for a Professional Finish?
If you want flawless open shelving without the DIY risks, Kitchenoro offers expert cabinet modification, premium installation, and complete kitchen remodeling services.
About Kitchenoro
Kitchenoro is your trusted partner for complete kitchen remodeling, renovation, and elegant design. We specialize in premium cabinet installation, countertops, and transforming kitchens into luxurious, functional spaces. With expert craftsmanship and tailored solutions, Kitchenoro turns your vision into reality. Contact us to elevate your kitchen’s style and functionality!